Distributors management
Distributor role was created to manage multiple accounts. This section will explain how to create distributor account groups and enable Distributor to switch between specific set of accounts. You need to have administrator level authorisation to be able to create "Distributor Account Groups". Each distributor can manage only one "Distrbutor Account Group". Think of it as a pool of accounts that can be managed by the distributor. He will only see and manage accounts that are in this pool.
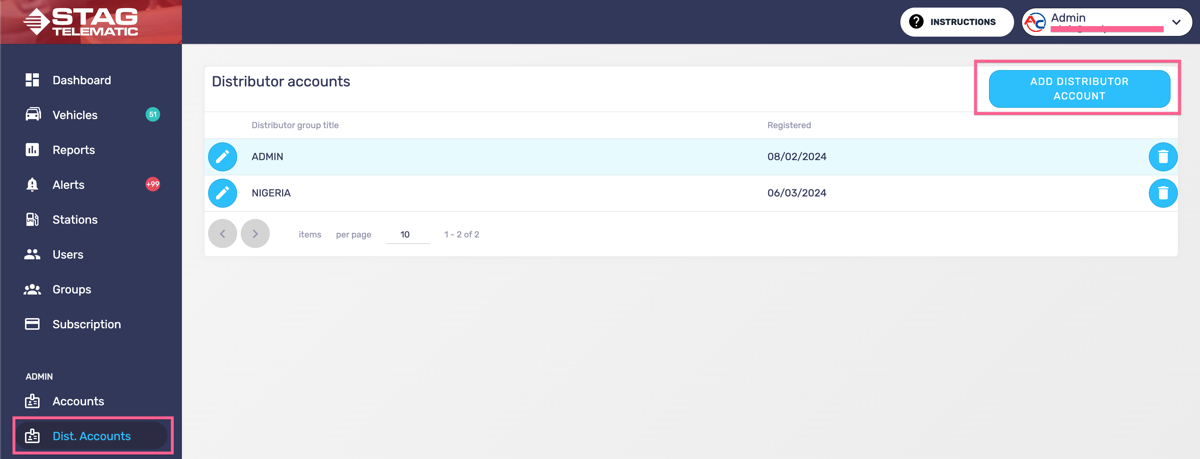
1. Distributor Account Group
In order to create Distributor Account Group press the tab "Dist. Accounts" on the navigation. You will see a list of already existing Distrobutor Account Groups. You can edit, remove or add new ones. In order to create a new group press the button in the top right "Add Distributor Account.
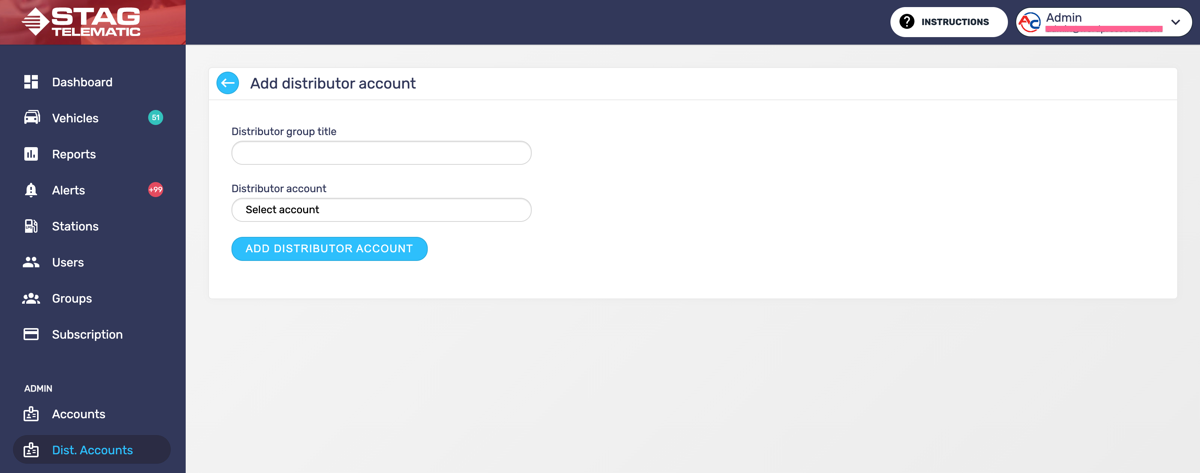
2. Creating Distributor Account Group
Once you are on the Add Distributor Account screen, you will be able to name the newly created group and add Accounts to this group. The name of the Distributor Account Groups serves as idetifier that you will be able later to assign to the distributor. Press the Add Distributor Account button to add the distributor in the list.
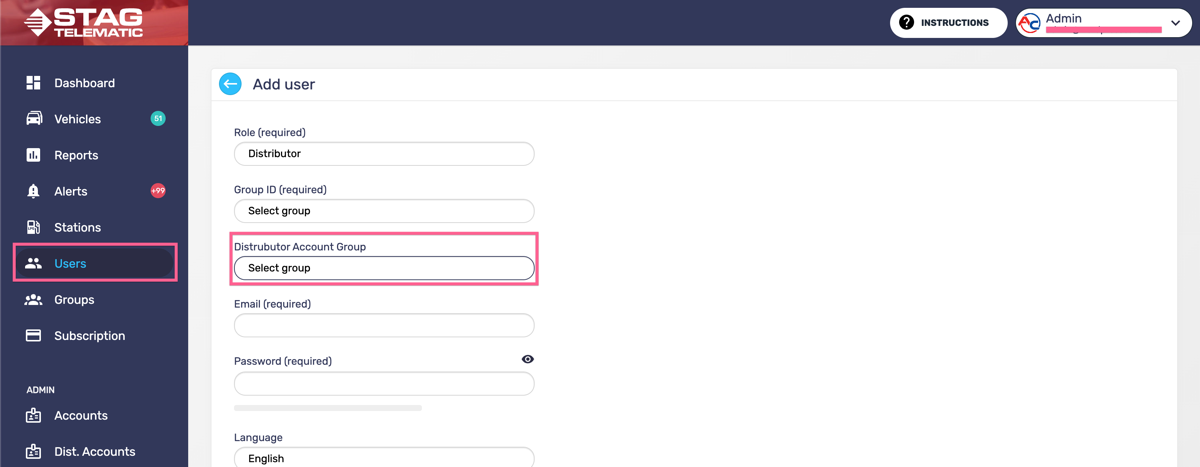
3. Assigning Distributor Account Group to the user
When creating new distributor it is required to select at least one distributor group. All the accounts that are assigned to the group will be available for the distributor to manage.
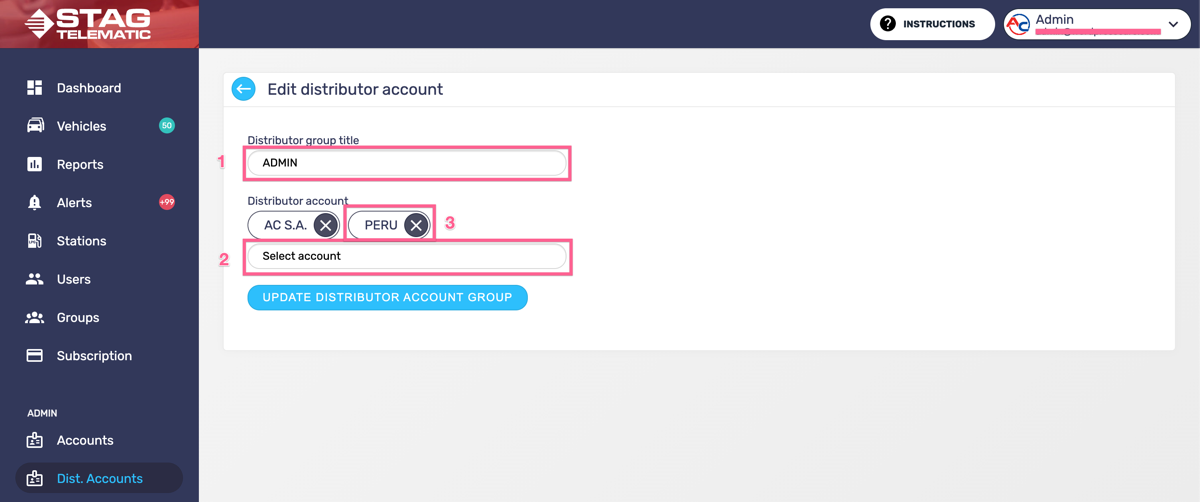
4. Edit the Distributor Account Group
Editing the Distributor Account Group can be done from the main Distributor Account Group screen (figure 1.1) by pressing the "edit icon". This will take you to the edit screen (figure 4.1). Once on the screen you can do the following: 1. change the name of the group, 2. add another account to manage, 3. remove account from the group.
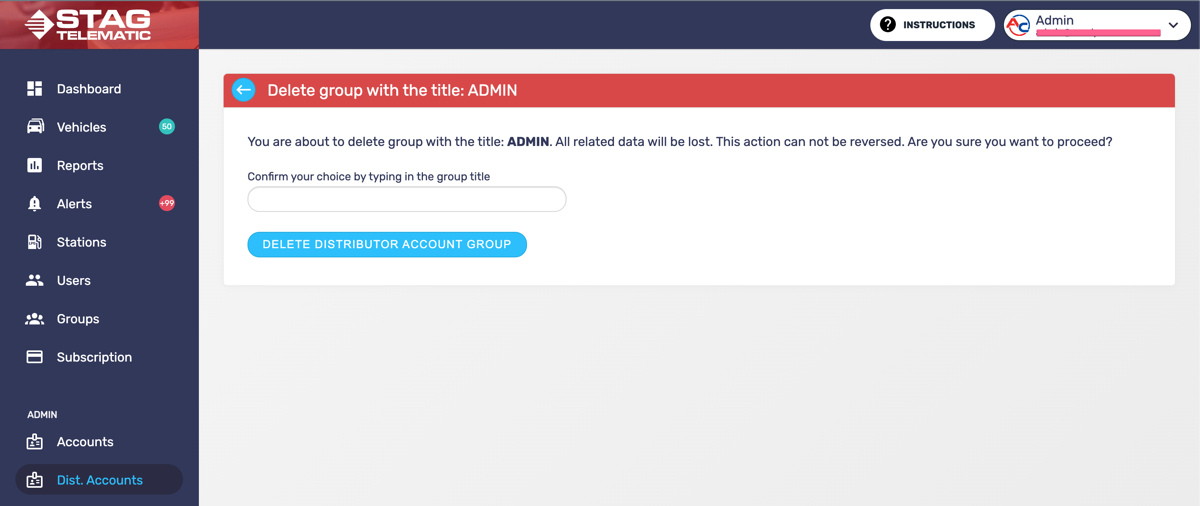
4. Delete the Distributor Account Group
Removing the Distributor Account Group can be done from the main Groups screen by pressing the "delete icon" on the Distributor Account Group main screen (figure 1.1). This will take you to the delete screen (figure 5.1).