Groups management
All group management can be done in the Groups tab.
1. Adding new group
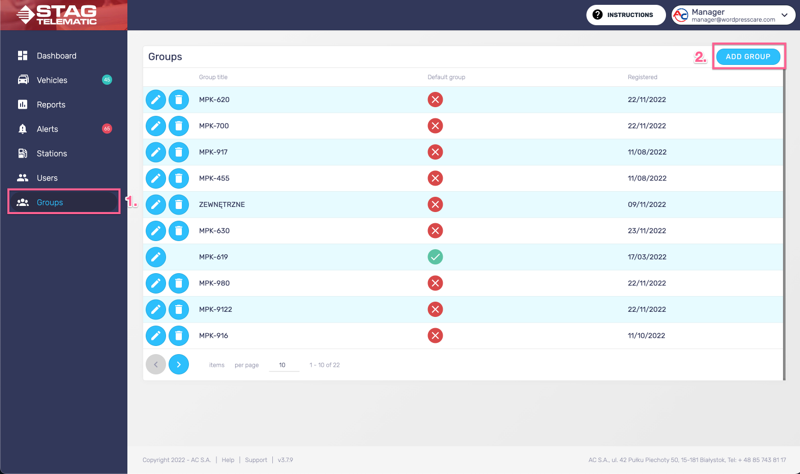
After selecting the Groups tab from the sidebar navigation, click the button in the top right corner "Add group" (figure 1.1).
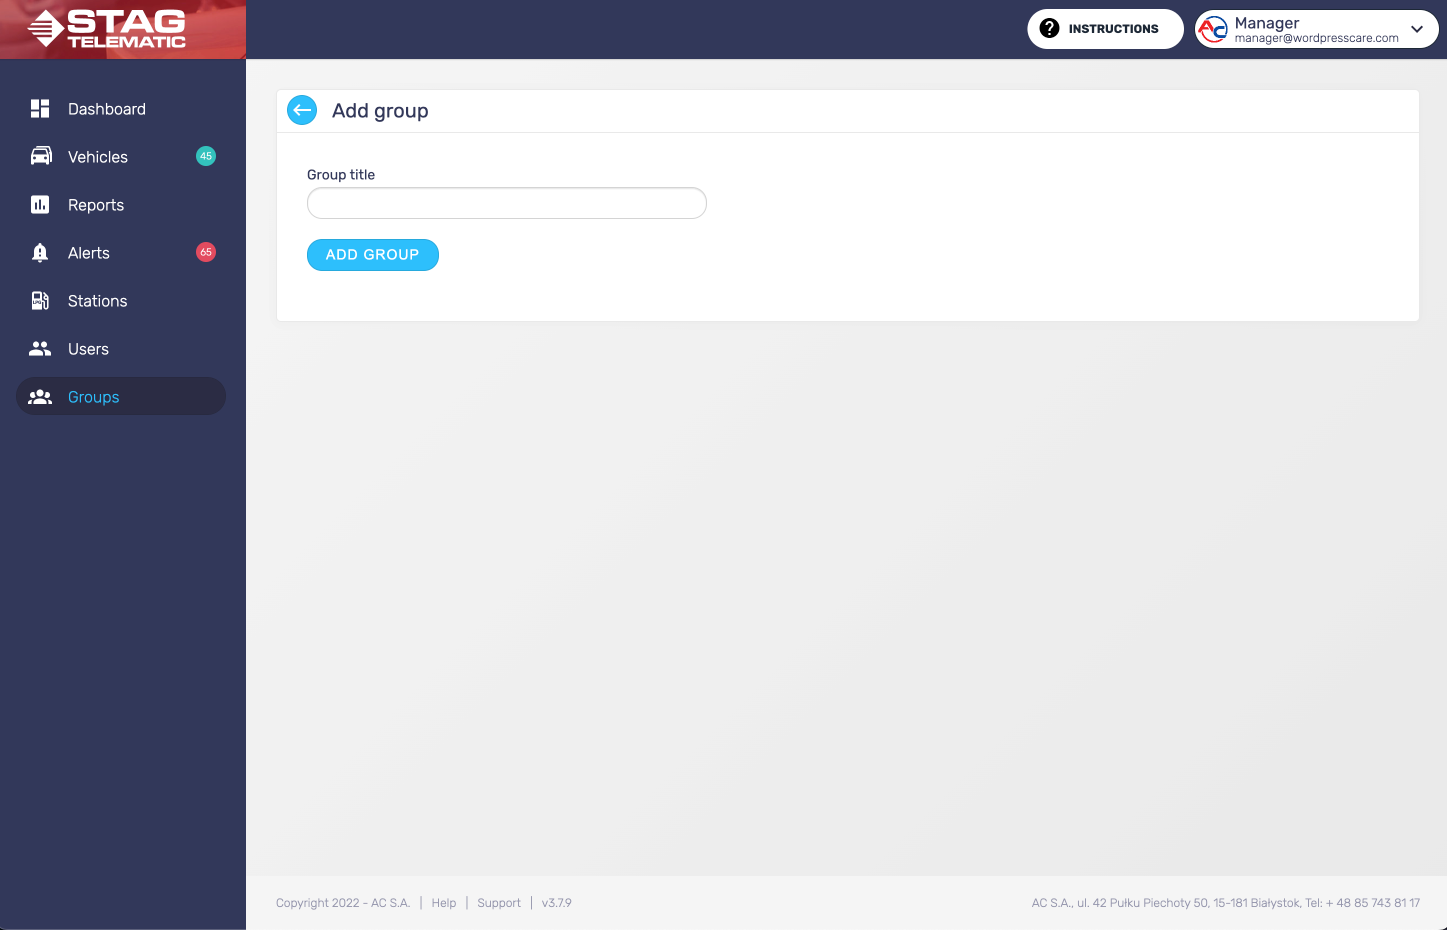
You will be presented with the "Add group" screen. Fill in the details and submit the form by pressing the button "Add group" (figure 1.2).
Following are explanations for each field in the form:
Group title
This is the name of the group you are about to create.
2. Edit the group

Editing the group can be done from the main Groups screen by pressing the "edit icon" (figure 2.1).
3. Removing a group

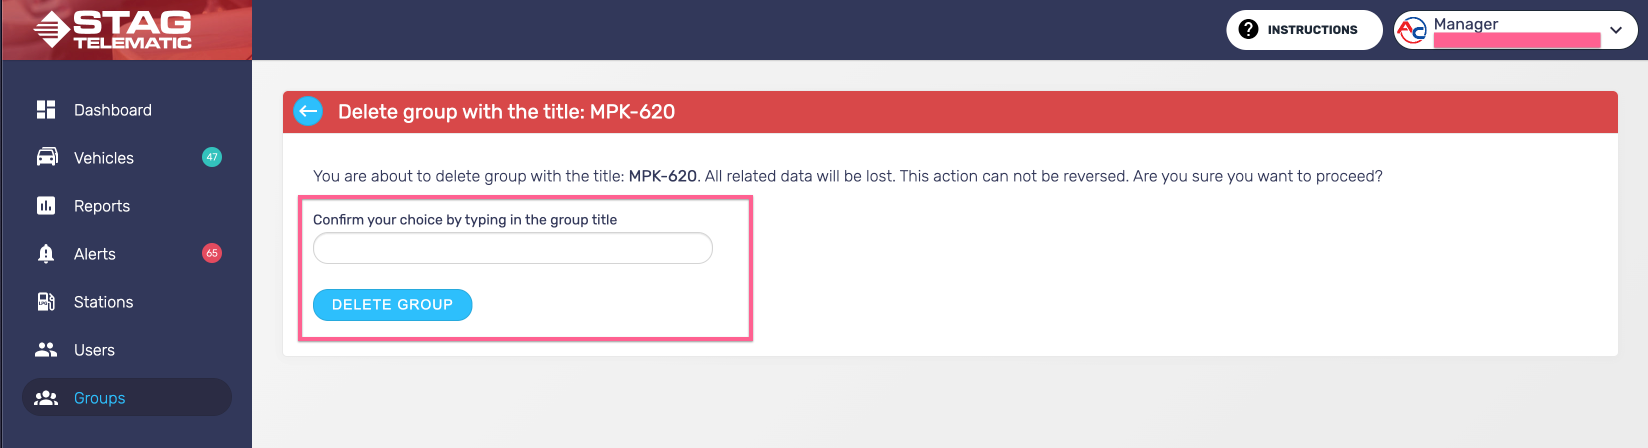
Removing the group can be done from the main Groups screen by pressing the "delete icon" (figure 3.1). Once the group is removed, vehicles assigned to the removed will be moved to the default group.
4. Default group

5. Using groups correctly
To use groups correctly you need to follow three steps:
- 1. Creating group
- 2. Assigning vehicle to the newly created group
- 3. Adding newly created group to a specific users